Make Your Own Plum Jam!

Sofia Alvarez
| 12-08-2026
 · Cate team
Hi Lykkers! There is something so satisfying about turning a basket of ripe, juicy plums into homemade jam. This plum jam recipe keeps things wonderfully simple: there is no peeling and no added pectin. The plums are cooked slowly with sugar through several rounds of boiling and cooling, allowing the fruit to naturally thicken into a rich, spreadable jam.
The finished jam has a beautiful deep color, a sweet-tart fruit flavor, and a soft texture that makes it perfect for toast, biscuits, pancakes, pastries, or even a spoonful straight from the jar. The recipe makes about 8 pint-sized jars, making it a great choice when you have a large amount of ripe plums to use.
Ingredients
- 12 pounds sweet, ripe plums, rinsed
- 4 ½ cups granulated sugar
- 8 pint-sized jars with lids
- Choose plums that are fully ripe, fragrant, and naturally sweet. Very firm or underripe fruit may not give you the same soft texture and full flavor.
Preparing the Plums
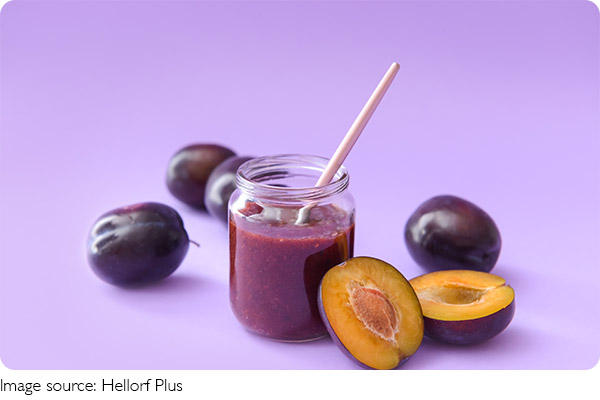
- Start by rinsing the plums thoroughly under cool water. Cut each plum in half and remove the pits. There is no need to peel them.
- Place the halved, pitted plums into a large mixing bowl. Sprinkle 4 ½ cups of granulated sugar evenly over the fruit.
- Gently stir until the sugar coats the plums as evenly as possible. Let the sweetened plums sit for 1 hour. During this time, the sugar will draw moisture from the fruit and create a juicy mixture that is ready for cooking.
How to Make Plum Jam
First Cooking Round
- After the plums have rested for an hour, transfer the entire mixture into a large heavy-bottomed cooking vessel.
- Place it over heat and bring the fruit mixture to a boil uncovered, stirring occasionally. Continue cooking until the mixture is bubbling evenly throughout.
- Once it reaches a steady boil, reduce the heat and allow it to simmer for 10 minutes.
- Turn off the heat and let the mixture cool completely to room temperature.
Repeat the Process
- Once the mixture has cooled, return it to the heat and repeat the same process.
- Bring it to a boil, stirring occasionally, then reduce the heat and simmer for 10 minutes. Turn off the heat and allow it to cool completely again.
- Repeat this process until you have completed four cooking rounds in total.
- With every round, the plums become softer and the mixture gradually becomes thicker. The repeated cooking also helps intensify the natural flavor of the fruit.
Final Cooking Round
- During the fourth and final round, bring the mixture to a boil using a lower temperature. Stir frequently, especially as the jam begins to thicken.
- Frequent stirring is important at this stage because the thickened fruit mixture can easily stick to the bottom and scorch.
- Once the jam has reached a thick, spreadable consistency, keep it hot while you prepare to fill the sterilized jars.
Sterilize the Jars
- Clean jars and lids are essential when preparing homemade preserves.
- Wash the jars and lids thoroughly with warm water and soap, then rinse them well. Place the jars in an oven at 215°F (about 102°C) for approximately 20 minutes, or until they are completely dry.
- Place the lids in boiling water and boil them for 5 minutes.
- Prepare your filling equipment while the jars are being sterilized so everything is ready when the jam is hot.
Fill the Jars
- Carefully transfer the boiling-hot jam into the sterilized jars. A glass measuring cup and funnel make this step much easier and help prevent messy spills.
- Leave approximately ½ inch of space between the surface of the jam and the top of each jar.
- Wipe the rims clean if any jam has spilled onto them. Place the lids on the jars and secure them firmly, but avoid tightening them too much.
Process the Filled Jars
- Place the filled jars into a canning vessel and add enough water to cover the jars by 1–2 inches.
- Bring the water to a boil and process the jars for 15 minutes.
- After processing, carefully remove the jars and place them on a flat surface at room temperature. Leave them completely undisturbed for 12–24 hours.
- As the jars cool, you may hear a popping sound. This can happen as the lids create a vacuum seal.
Check the Seals
- After 24 hours, inspect each jar to make sure the seal has formed properly.
- Press gently on the center of the lid. A properly sealed lid should remain firm and should not move up and down when pressed.
- If a jar has not sealed, place it in the refrigerator and enjoy the jam within 3 months, following the storage guidance provided with this recipe.
Delicious Ways to Enjoy Plum Jam
- Once your homemade plum jam is ready, there are plenty of ways to enjoy it. Spread it over warm toast, spoon it onto pancakes or waffles, swirl it into yogurt, or use it between layers of cake.
- For something extra special, serve a little plum jam alongside freshly baked biscuits or use it as a sweet filling for pastries.
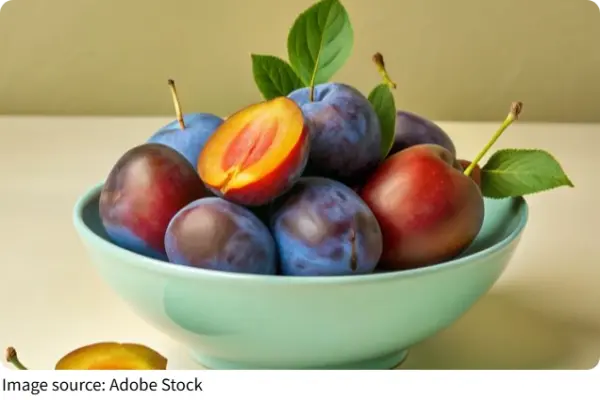
This plum jam recipe takes a little time, but the process is wonderfully simple. With ripe plums, sugar, and a few careful cooking rounds, you can create a flavorful homemade preserve without peeling the fruit or adding pectin. The result is a rich, fruity jam that makes the most of perfectly ripe summer plums.